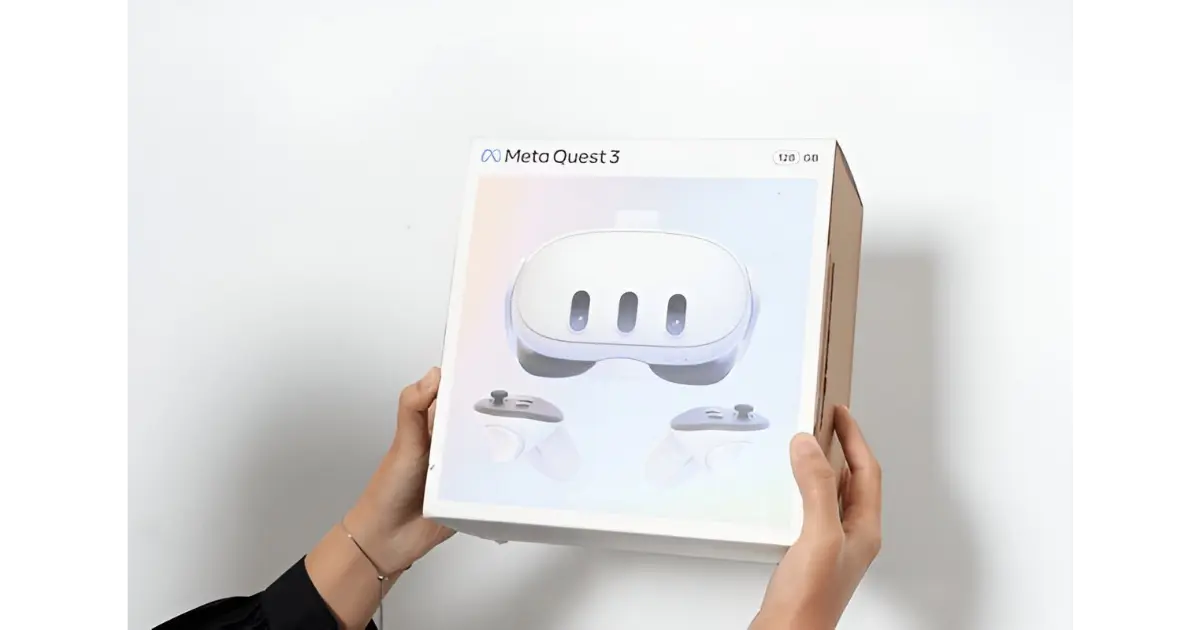
The Meta Quest 3 is a powerful virtual reality headset, but when you connect it to a PC, you unlock its full potential. This lets users access a wider range of VR experiences beyond what the standalone device offers. Whether for gaming, development, or exploring new environments, a PC connection enhances its versatility.
You can connect via USB cable or wirelessly using Air Link. A USB 3.0 compatible port is needed to activate the link in settings. A wireless connection requires a stable Wi-Fi network, allowing a free-moving experience without constraints. Either way, installing Oculus software is necessary.
Some essential steps ensure a seamless setup. Use a compatible USB-C cable that supports data transfer—not all charging cables do. A dedicated high-speed cable is more reliable for smooth gaming. Also, download the Oculus desktop app from the official Meta website to tether your headset and access real-time applications. The process is quick, straightforward, and requires minimal hassle.
Once ready, enjoy high-quality VR in your studio or room. A PC-powered Meta Quest 3 improves graphic fidelity, with better visuals, frame rates, and rendering capabilities. It boosts responsiveness for smoother gameplay and expands access to AAA titles and specialised content. This makes your headset even more versatile and impressive.
How to Connect Meta Quest 3 to PC: Step-by-Step Guide

1. Set Up Your Meta Quest 3 for a Wired Connection
Using a wired connection with the Meta Quest Link Cable ensures a stable VR experience with minimal latency. Follow these steps to connect your Quest 3 to a PC and unlock the full potential of PC VR gaming.
- Check Compatibility: Make sure your PC meets the minimum requirements for running Meta Quest Link. A high-performance system ensures smooth VR gameplay.
- Download and Install: Get the Meta Quest app on your PC. This app is essential for managing your headset and accessing PC VR content.
- Connect the Cable: Take a USB-C Link Cable and plug one end into your Quest 3 headset. Insert the other end into a USB 3.0 port on your PC for fast data transfer.
- Allow Access: When a message appears inside your VR headset, choose Allow Access to enable data sharing between your PC and Quest 3.
- Enable the Link: A pop-up will prompt you to Enable Oculus Link—simply click “Enable” to proceed.
- Launch Quest Link: Open the Meta Quest app on your PC, then click on “Launch Quest Link” to start the VR connection.
Once completed, your Quest 3 will be fully linked to your PC, providing access to high-quality VR experiences with better graphics and smoother performance.
2. Set Up Your Meta Quest 3 for a Wireless PC Connection
If you prefer a wireless connection, Air Link lets you connect your Quest 3 to a PC without cables. Follow these steps for a smooth VR experience.
- Enable Air Link: On your Quest 3, go to Settings, find Experimental Features, and enable Air Link for wireless PC VR access.
- Connect to Wi-Fi: Make sure your PC and Quest 3 are on the same Wi-Fi network to ensure a stable connection.
- Pair Devices: Open the Meta Quest app on your PC, go to Quest Link in Settings, then click “Pair” and follow the on-screen instructions to complete the process.
- Launch Air Link: Open the Quick panel on your Quest 3, click “Quest Link,” choose your PC from the list, and launch the wireless connection.
Once done, your Quest 3 will be fully connected to your PC, giving you the freedom of wireless VR with no cables holding you back.
3. Setting Up for a Tethered Connection
A tethered connection provides a stable link between your PC and headset using a cable. To get started, ensure you have a high-quality USB-C cable that supports fast data transfer. A USB 3.0 port on your PC is essential for maintaining smooth performance.
For the best experience, the Oculus Link Cable or Meta Link Cable is the preferred choice. These cables are designed specifically for this process, ensuring minimal latency and a seamless VR experience. Connecting your headset through a reliable wired setup will enhance performance and reduce connection issues.
4. Enabling Oculus Link via Cable
To start connecting your Quest 3 to a PC, use a high-quality cable and plug it into both devices. Once the headset is linked, wear it and check the VR display. A system message will appear, asking if you want to enable Oculus Link.
When the prompt appears in your view, select it to initiate the connection. This step lets your PC access more advanced VR experiences, offering better visuals and performance. After enabling, your Quest 3 will function like a high-end PC VR headset, allowing you to explore more powerful content.
5. Requirements and Compatibility
To use Quest 3 with a PC, you need a compatible system with a USB-C port. Your PC should run on Windows 10 and have a powerful graphics card to handle VR software. A specific processor, such as AMD Ryzen 5, is necessary to ensure smooth performance.
Additionally, your PC must have enough RAM to support high-quality VR experiences. A well-optimized setup improves gameplay and responsiveness, making the most of Quest 3’s features.
Troubleshooting Common Issues
Sometimes, you may face connection errors or performance problems while using your Meta Quest 3 with a PC. Below is a table with common issues and solutions to help you get the best VR experience.
| Issue | Possible Cause | Solution |
| Connection Errors | Faulty USB-C cable or improper data transfer | Ensure the cable is securely connected and supports data transfer. Try a different USB-C port. Restart the headset and PC if the problem persists. |
| Black Screen | Loose Link Cable or software glitches | Check if the Link Cable is securely plugged in. If the issue continues, restart the Meta Quest 3 and ensure the Oculus app is up to date. |
| Performance Problems | Lag, poor visuals, or low frame rate | Verify that your PC’s hardware specifications meet the requirements for optimal VR performance. Adjust graphics settings in the Meta Quest app. |
| Connection Drops | Weak Wi-Fi signal or unstable USB-C cable | Ensure a strong Wi-Fi signal if using wireless mode, or switch to a Link Cable for a more stable connection. |
| Software Issues | Outdated or corrupt Oculus app | Reinstalling the Oculus app can help resolve persistent issues. Make sure it is up to date. |
By following these steps, you can improve your Meta Quest 3 experience and prevent common VR issues.
Frequently Asked Questions
How do I connect my Meta Quest 3 to a PC?
You can connect your Meta Quest 3 to a PC using either a wired USB-C connection or a wireless Air Link connection. A USB 3.0 port and the Oculus desktop app are required for a stable connection.
What are the system requirements for connecting Meta Quest 3 to a PC?
Your PC should have Windows 10, a high-performance graphics card, and a processor like AMD Ryzen 5. It also needs sufficient RAM and a USB-C port for optimal VR performance.
What cable do I need for a wired connection?
Use a high-quality USB-C cable that supports fast data transfer, such as the Oculus Link Cable or Meta Link Cable, to ensure minimal latency and a stable connection.
How do I enable Air Link for a wireless connection?
Enable Air Link in the Quest 3 settings under Experimental Features. Ensure your PC and headset are on the same Wi-Fi network, then pair the devices through the Meta Quest app.
Why is my Meta Quest 3 not connecting to my PC?
Common causes include a faulty USB-C cable, outdated Oculus software, or an unstable Wi-Fi signal. Try using a different port, restarting your headset and PC, or reinstalling the Oculus app.
How can I fix lag or performance issues in PC VR mode?
Ensure your PC meets the required specifications, update your graphics drivers, and adjust settings in the Meta Quest app. A wired connection often provides a smoother experience.
Does connecting to a PC improve VR graphics and performance?
Yes! A PC-powered Meta Quest 3 offers better visuals, higher frame rates, and access to more advanced VR content, including AAA games and specialized applications.
Conclusion
Connecting your Meta Quest 3 to a PC unlocks its full potential, delivering a high-quality VR experience with better graphics, smoother gameplay, and access to a wider range of content. Whether you choose a wired or wireless connection, following the right setup steps ensures a seamless experience. A stable connection, a compatible PC, and proper troubleshooting can help you avoid common issues. With the right setup, you can enjoy immersive VR gaming, development, and exploration like never before.


